Back
Creating an Event in Tunisia in Bip.Events
This guide will walk you through creating your first event and setting up tickets. Creating an event takes just a few minutes, and you can always come back to add more details later.
Basic Event Setup
1. Start by clicking "Create Event"
From your dashboard, click the "Create Event" button in the top right corner to begin.
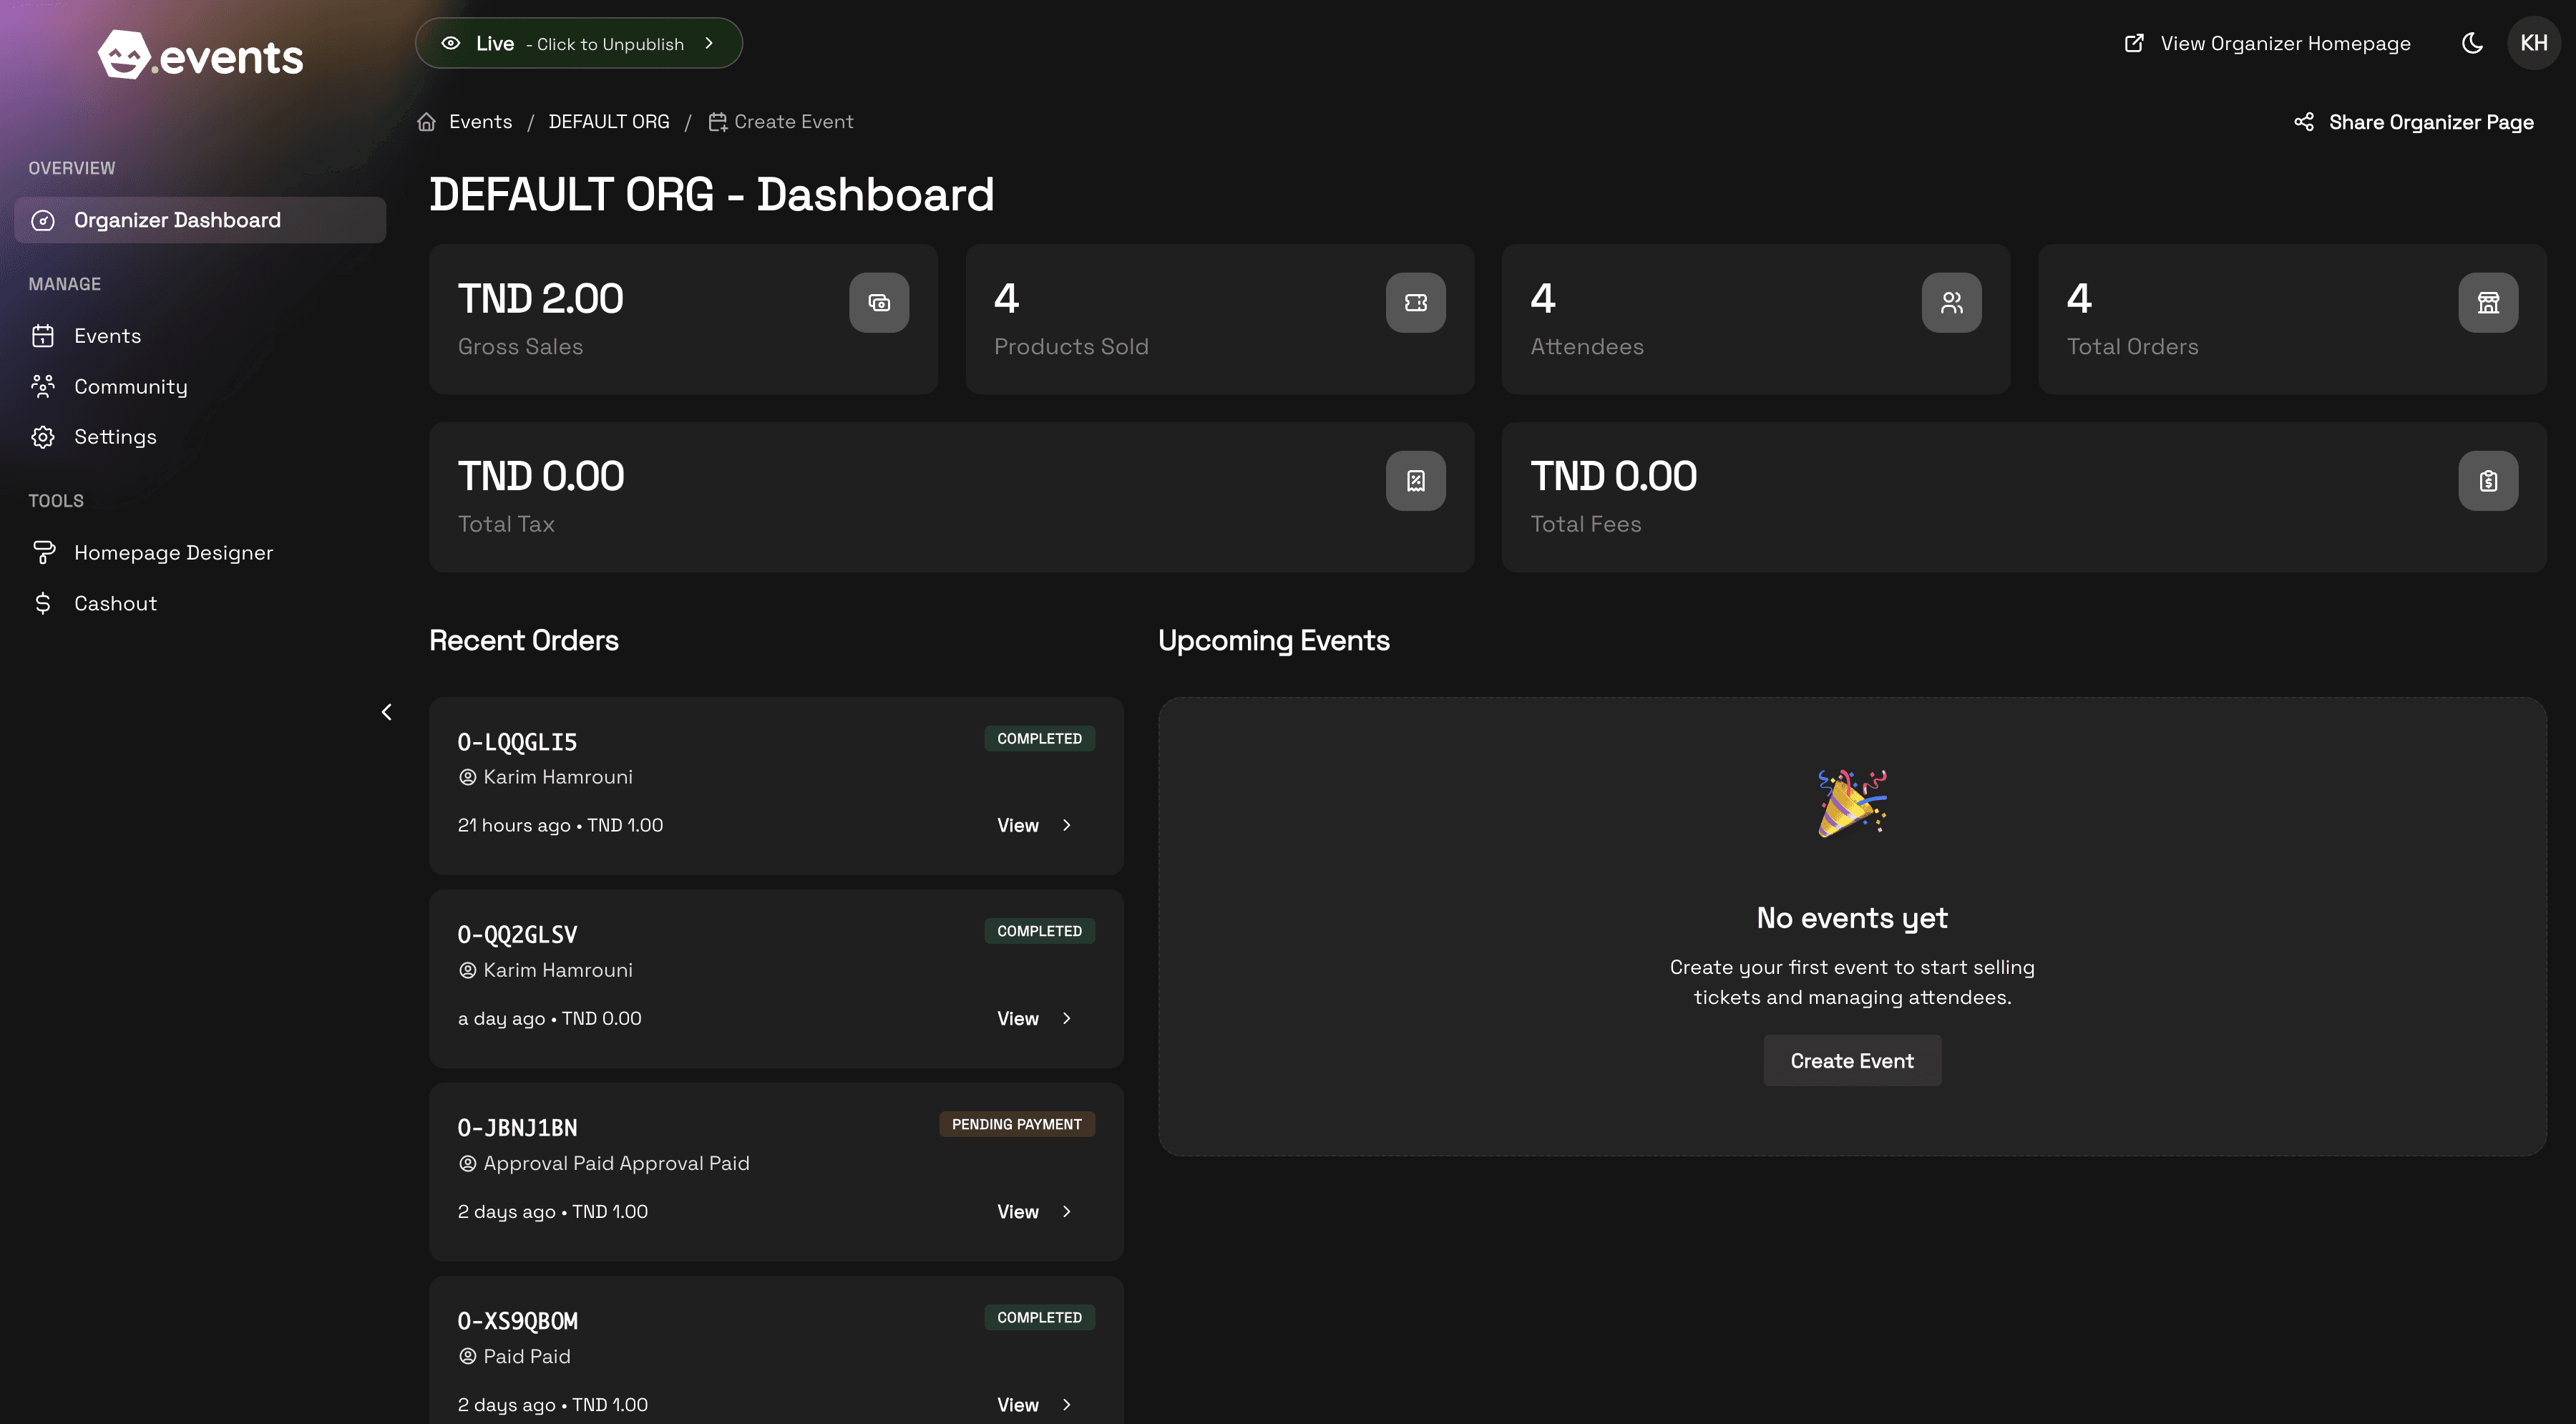
Click the Create Event button to start
2. Enter your event's name
Choose a clear, descriptive name for your event. You can edit this later if needed.
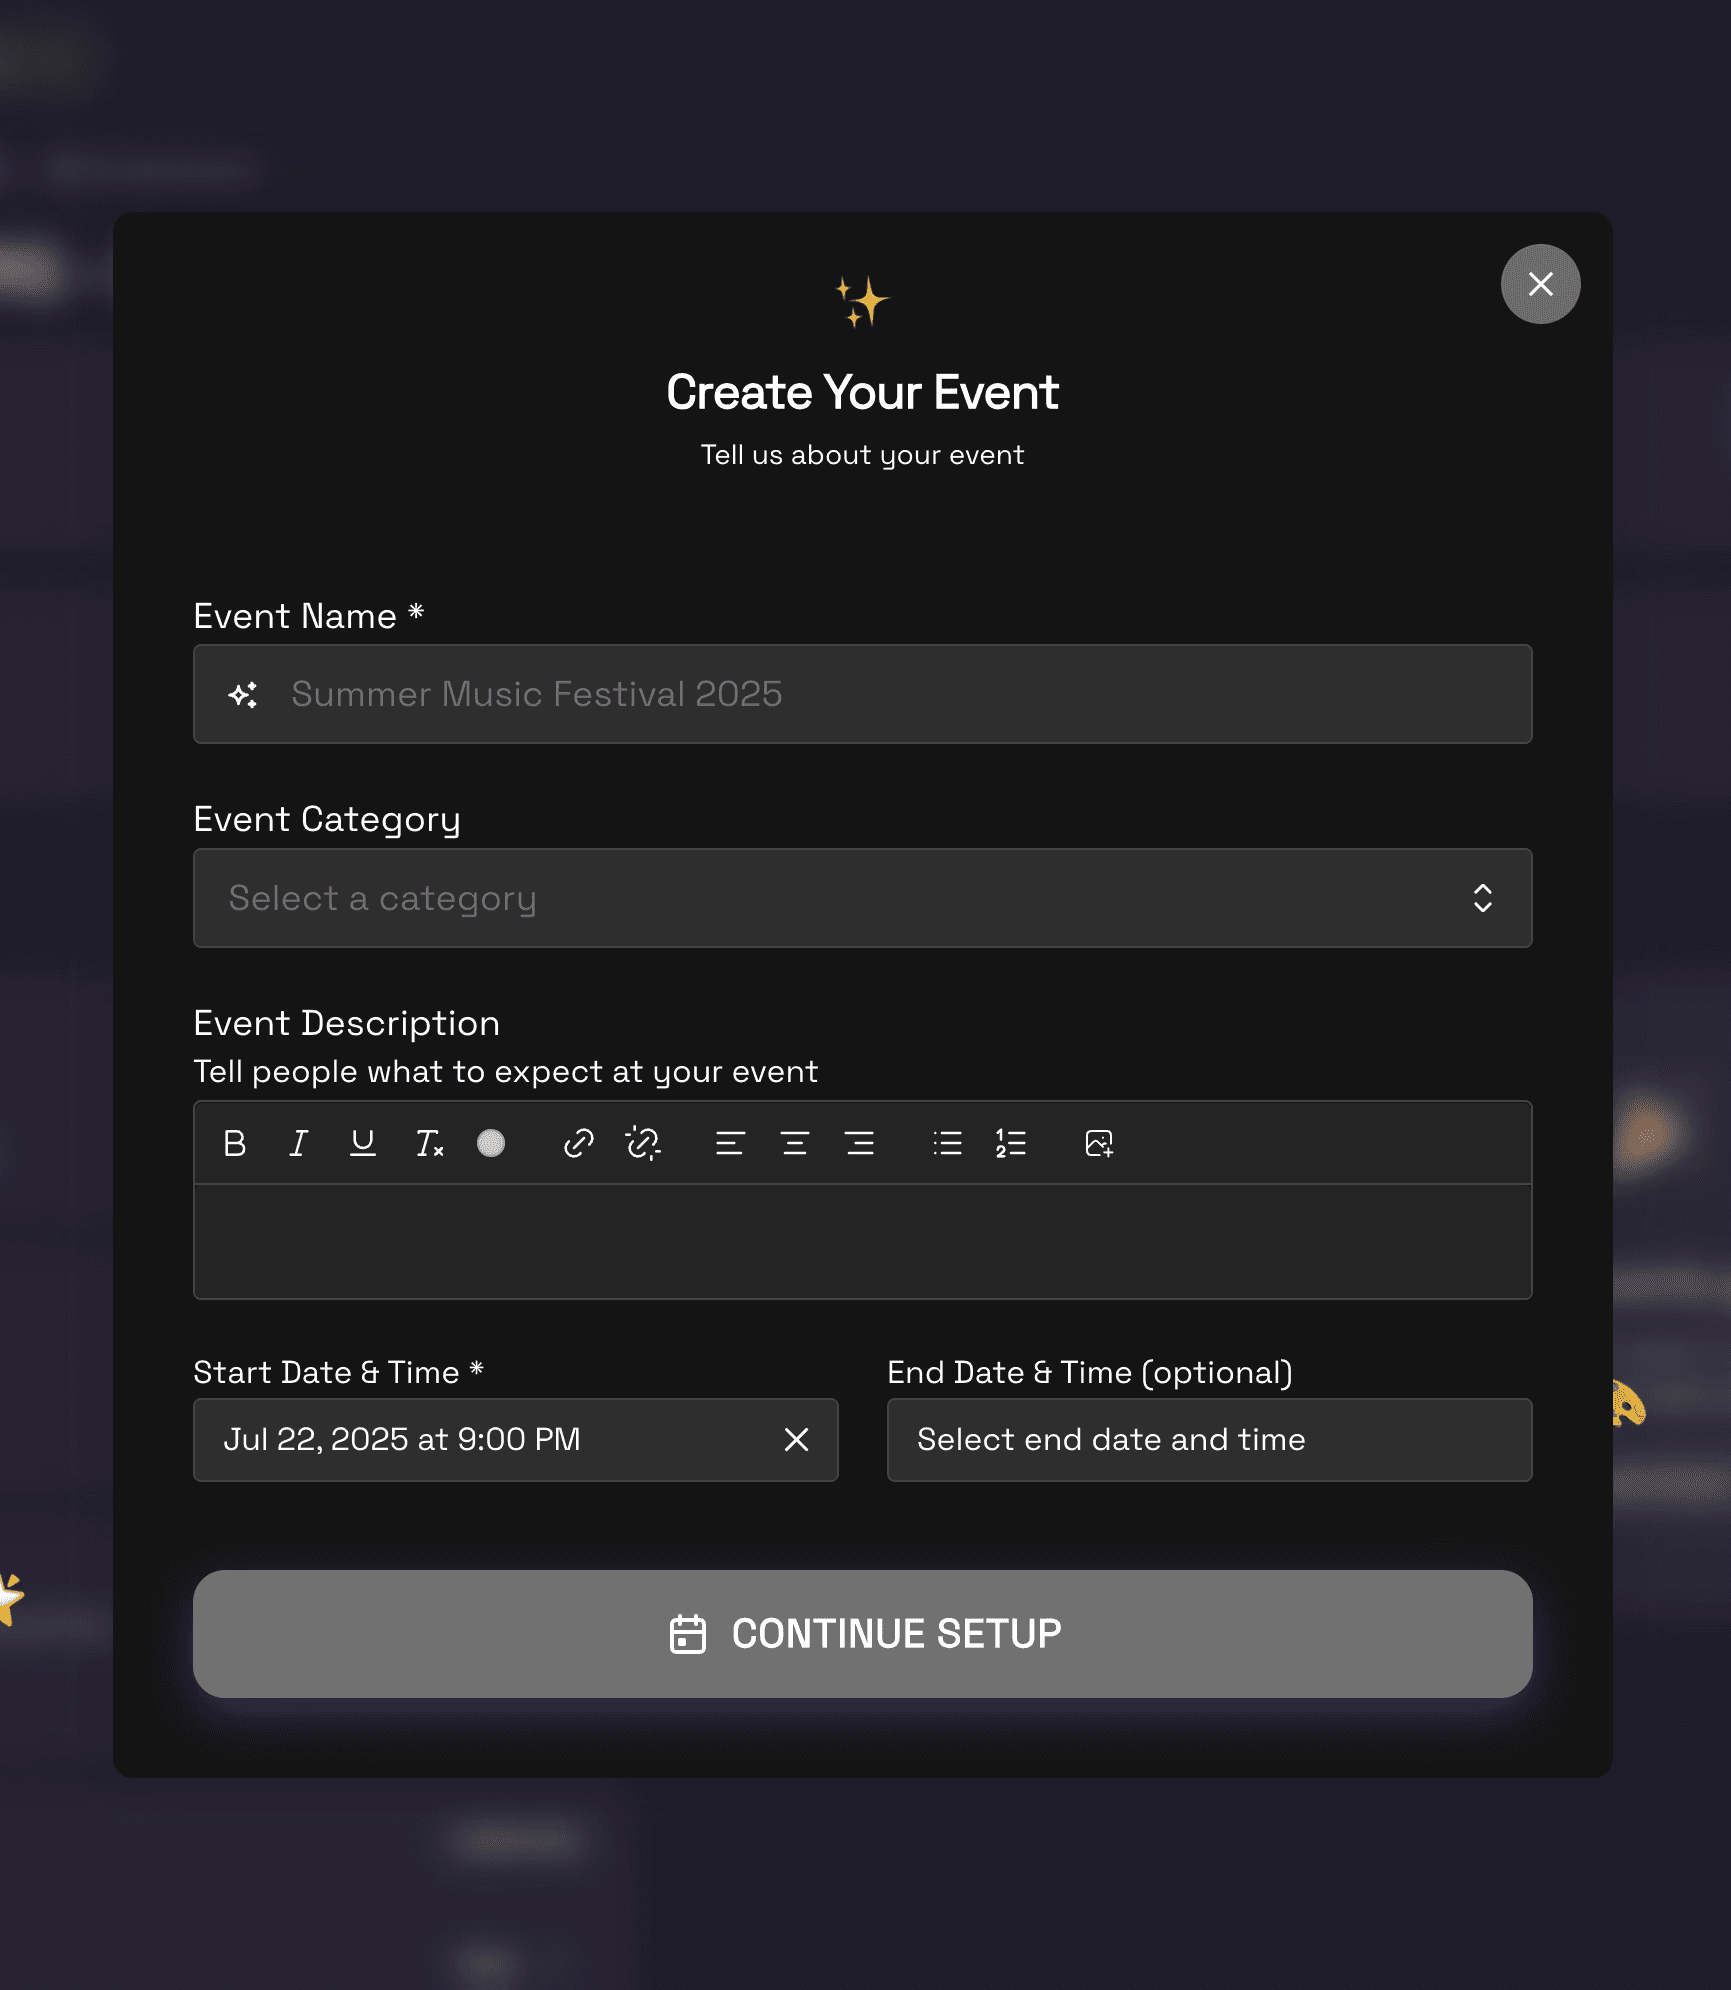
Enter a descriptive name for your event
3. Set your event's start date
Select when your event will begin. You can add end dates and additional schedule details later.
Choose your event's start date
4. Continue to setup
Click "Continue Event Setup" to proceed. Don't worry about having all the details ready - you can add more information later.
Proceed to the next step of event setup
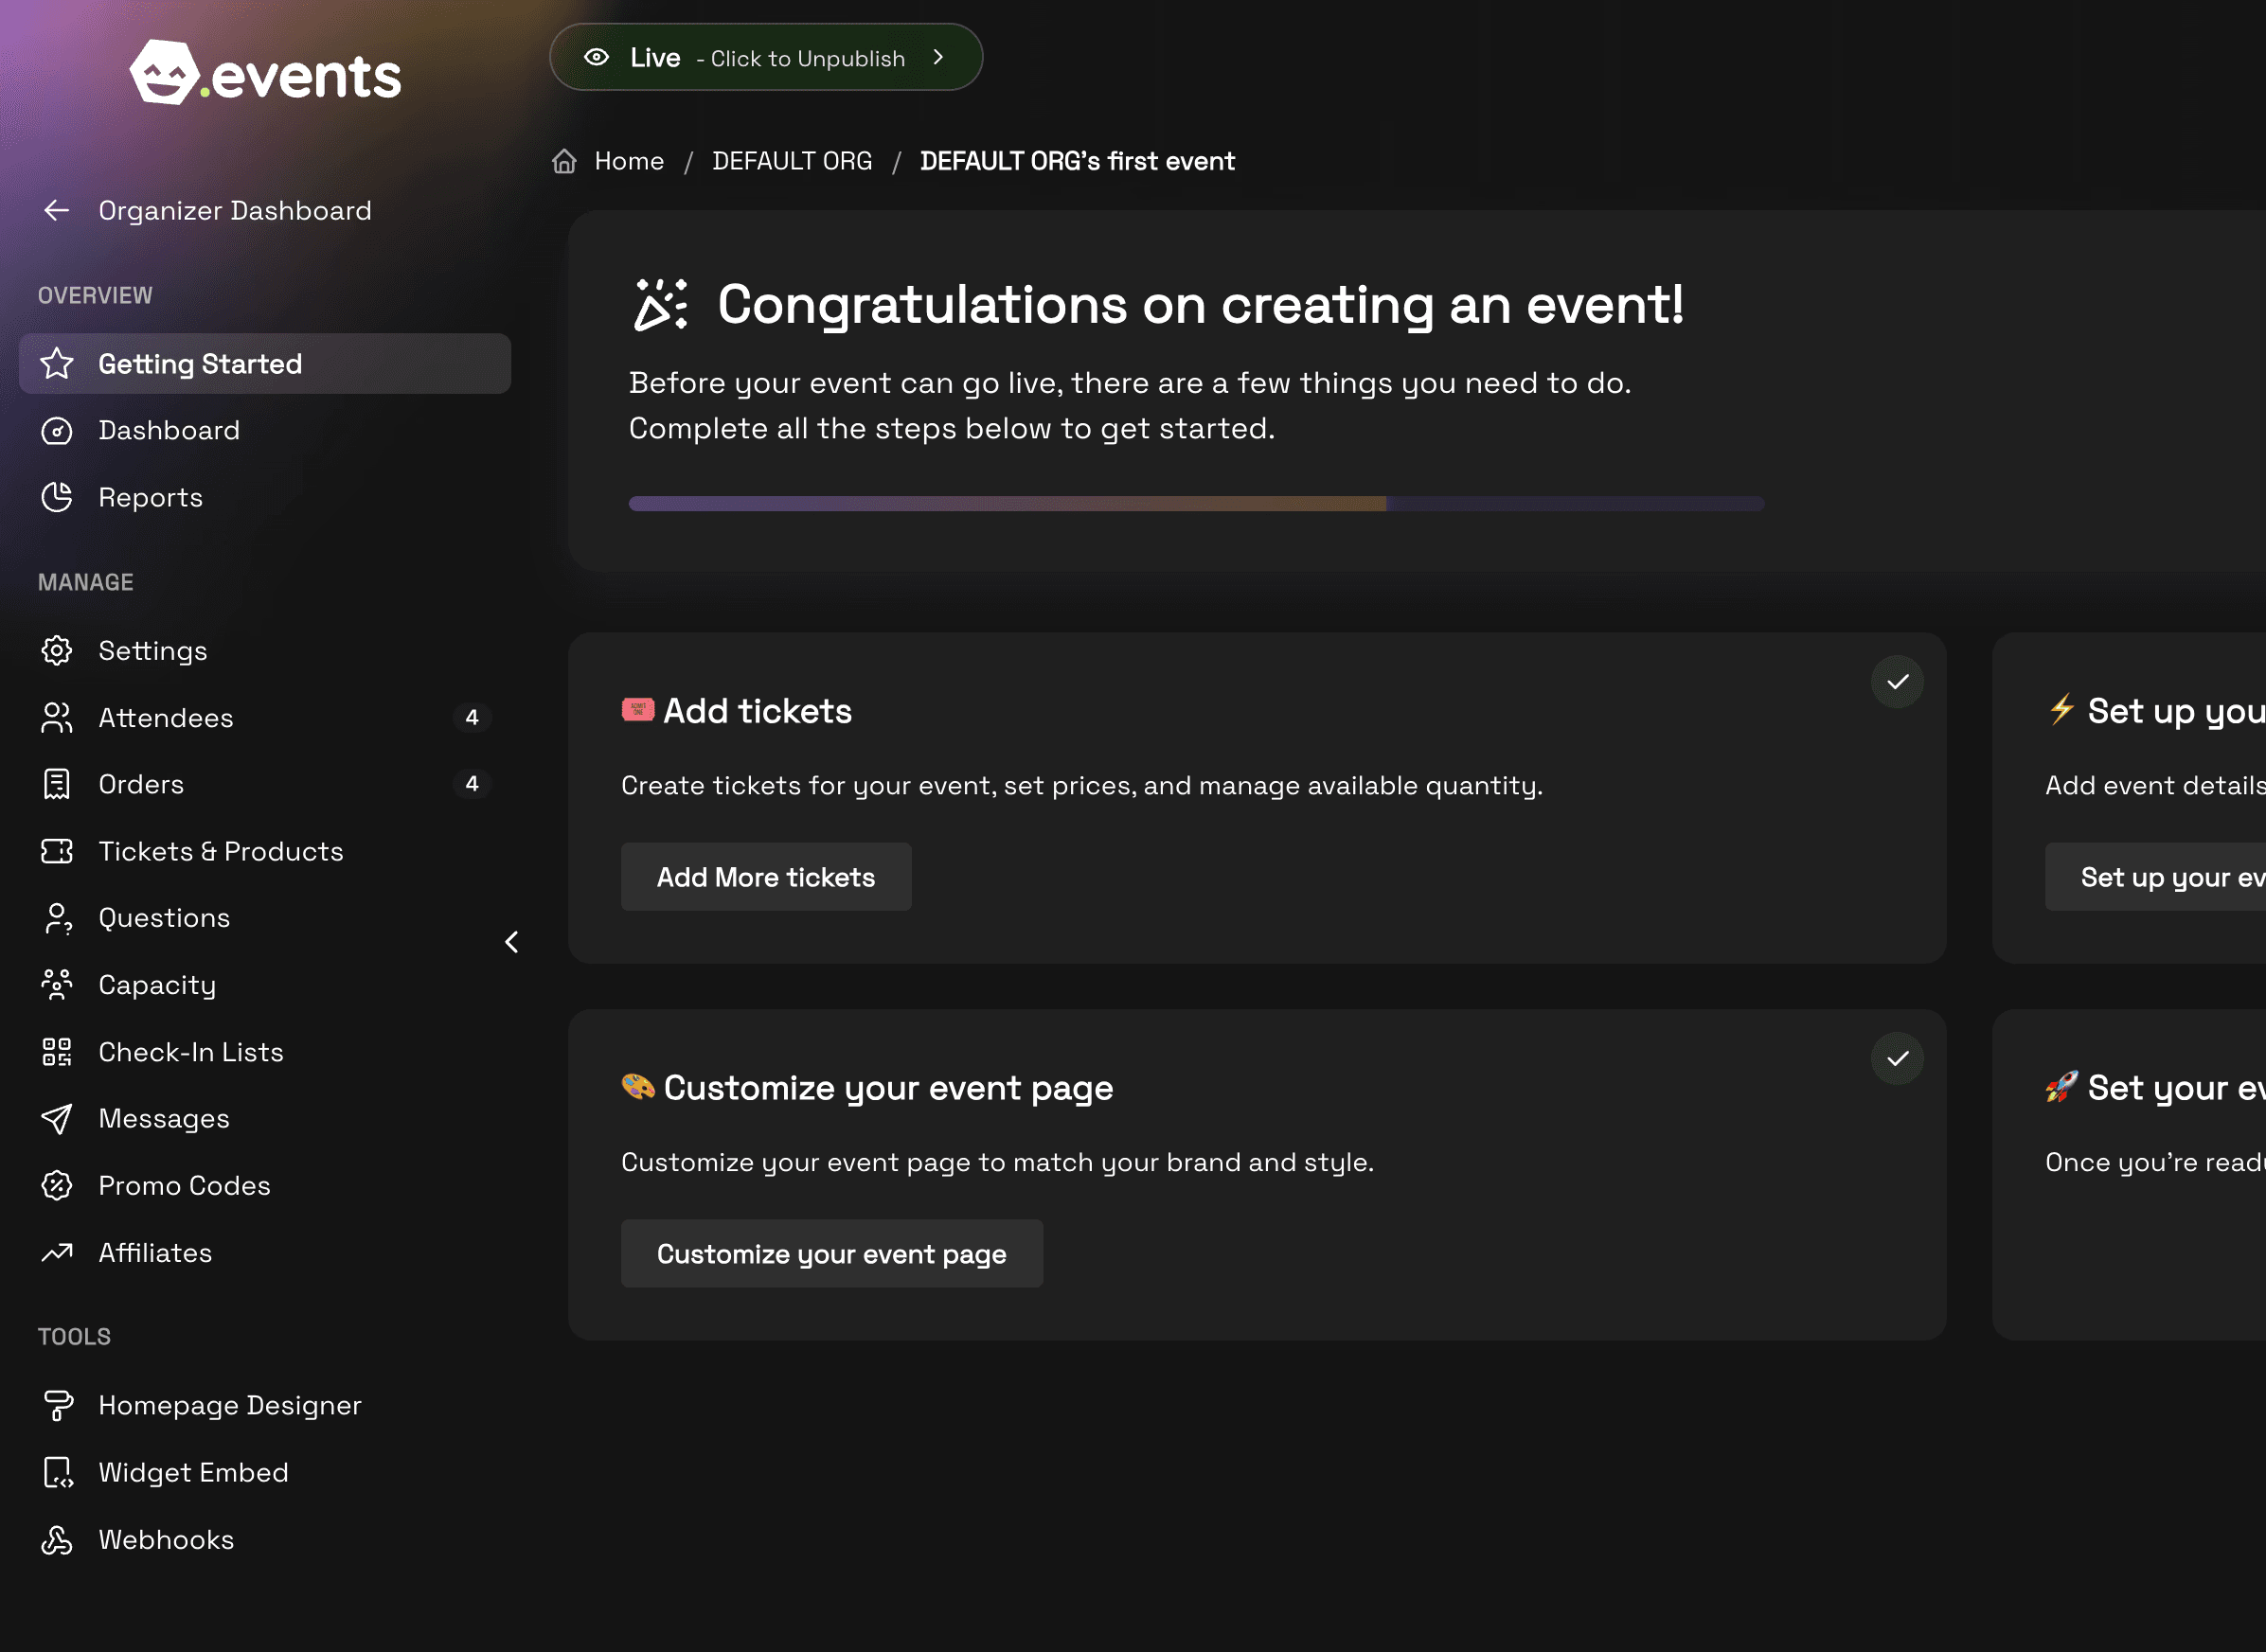
5. Initial event creation complete
Congratulations! 🎉 Your event has been created. Now it's time to add tickets or products.
Your event has been created successfully
Setting Up Tickets
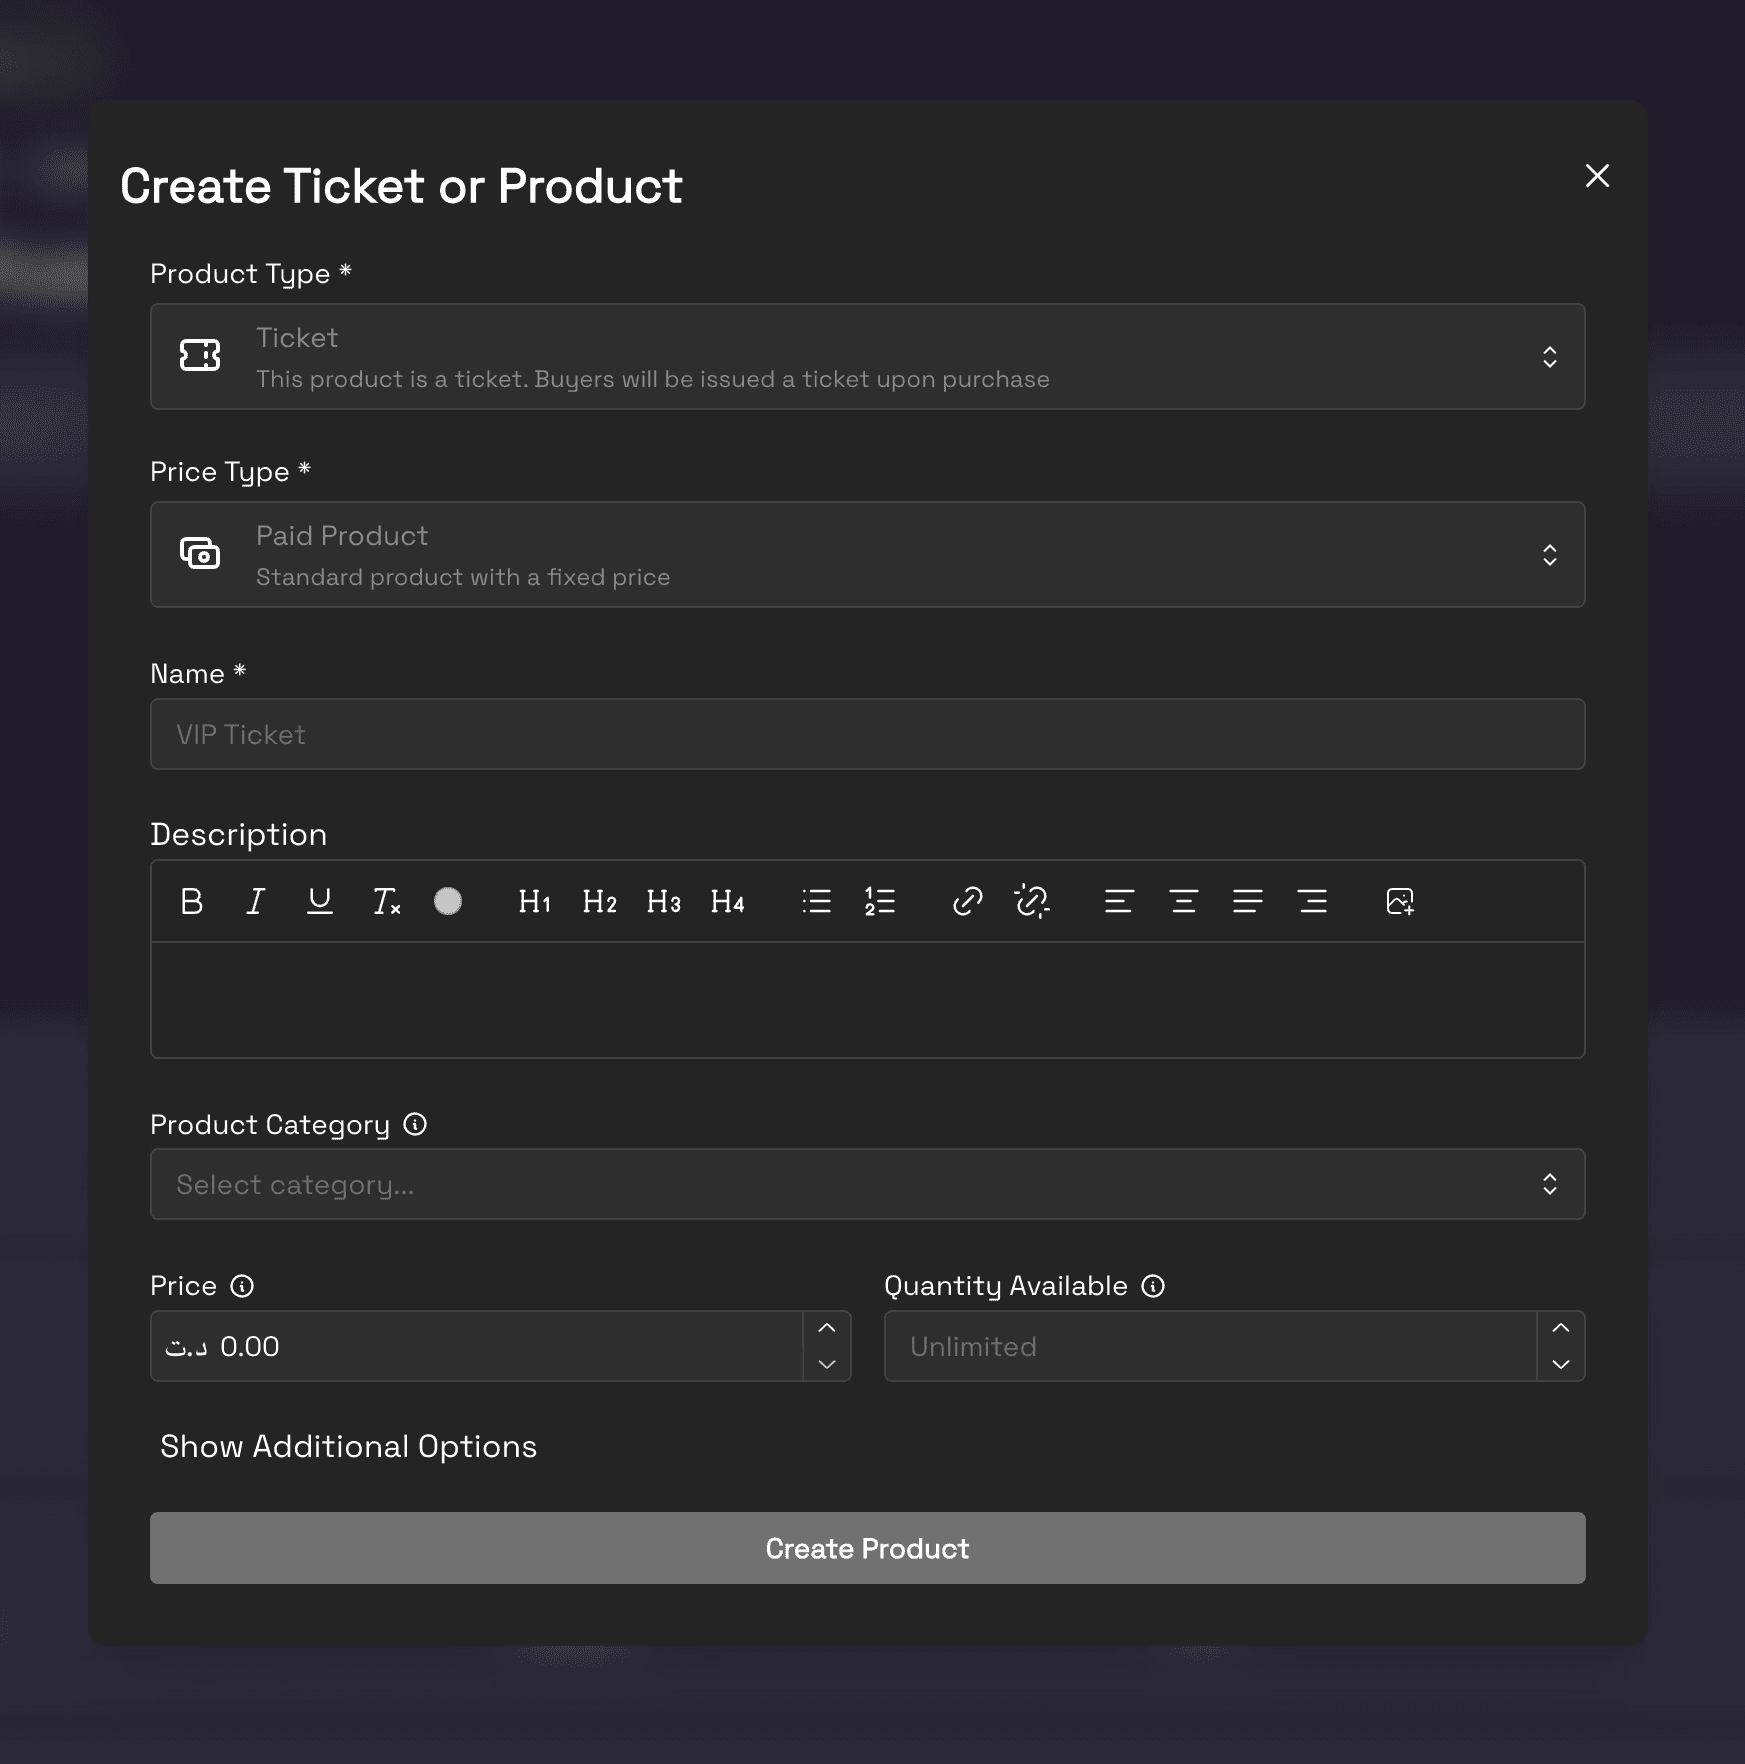
6. Create your first ticket
Start with a basic ticket type like "General Admission". You can add more ticket types later for different pricing tiers or VIP access.
Name your first ticket type
7. Set ticket pricing
Enter the price for your ticket. Leave it at 0 for free events, or enter your desired amount. You can also add fees and taxes later.
Set your ticket price
8. Finalize ticket creation
Click "Create Product" to add this ticket type to your event.
Finalize your ticket creation
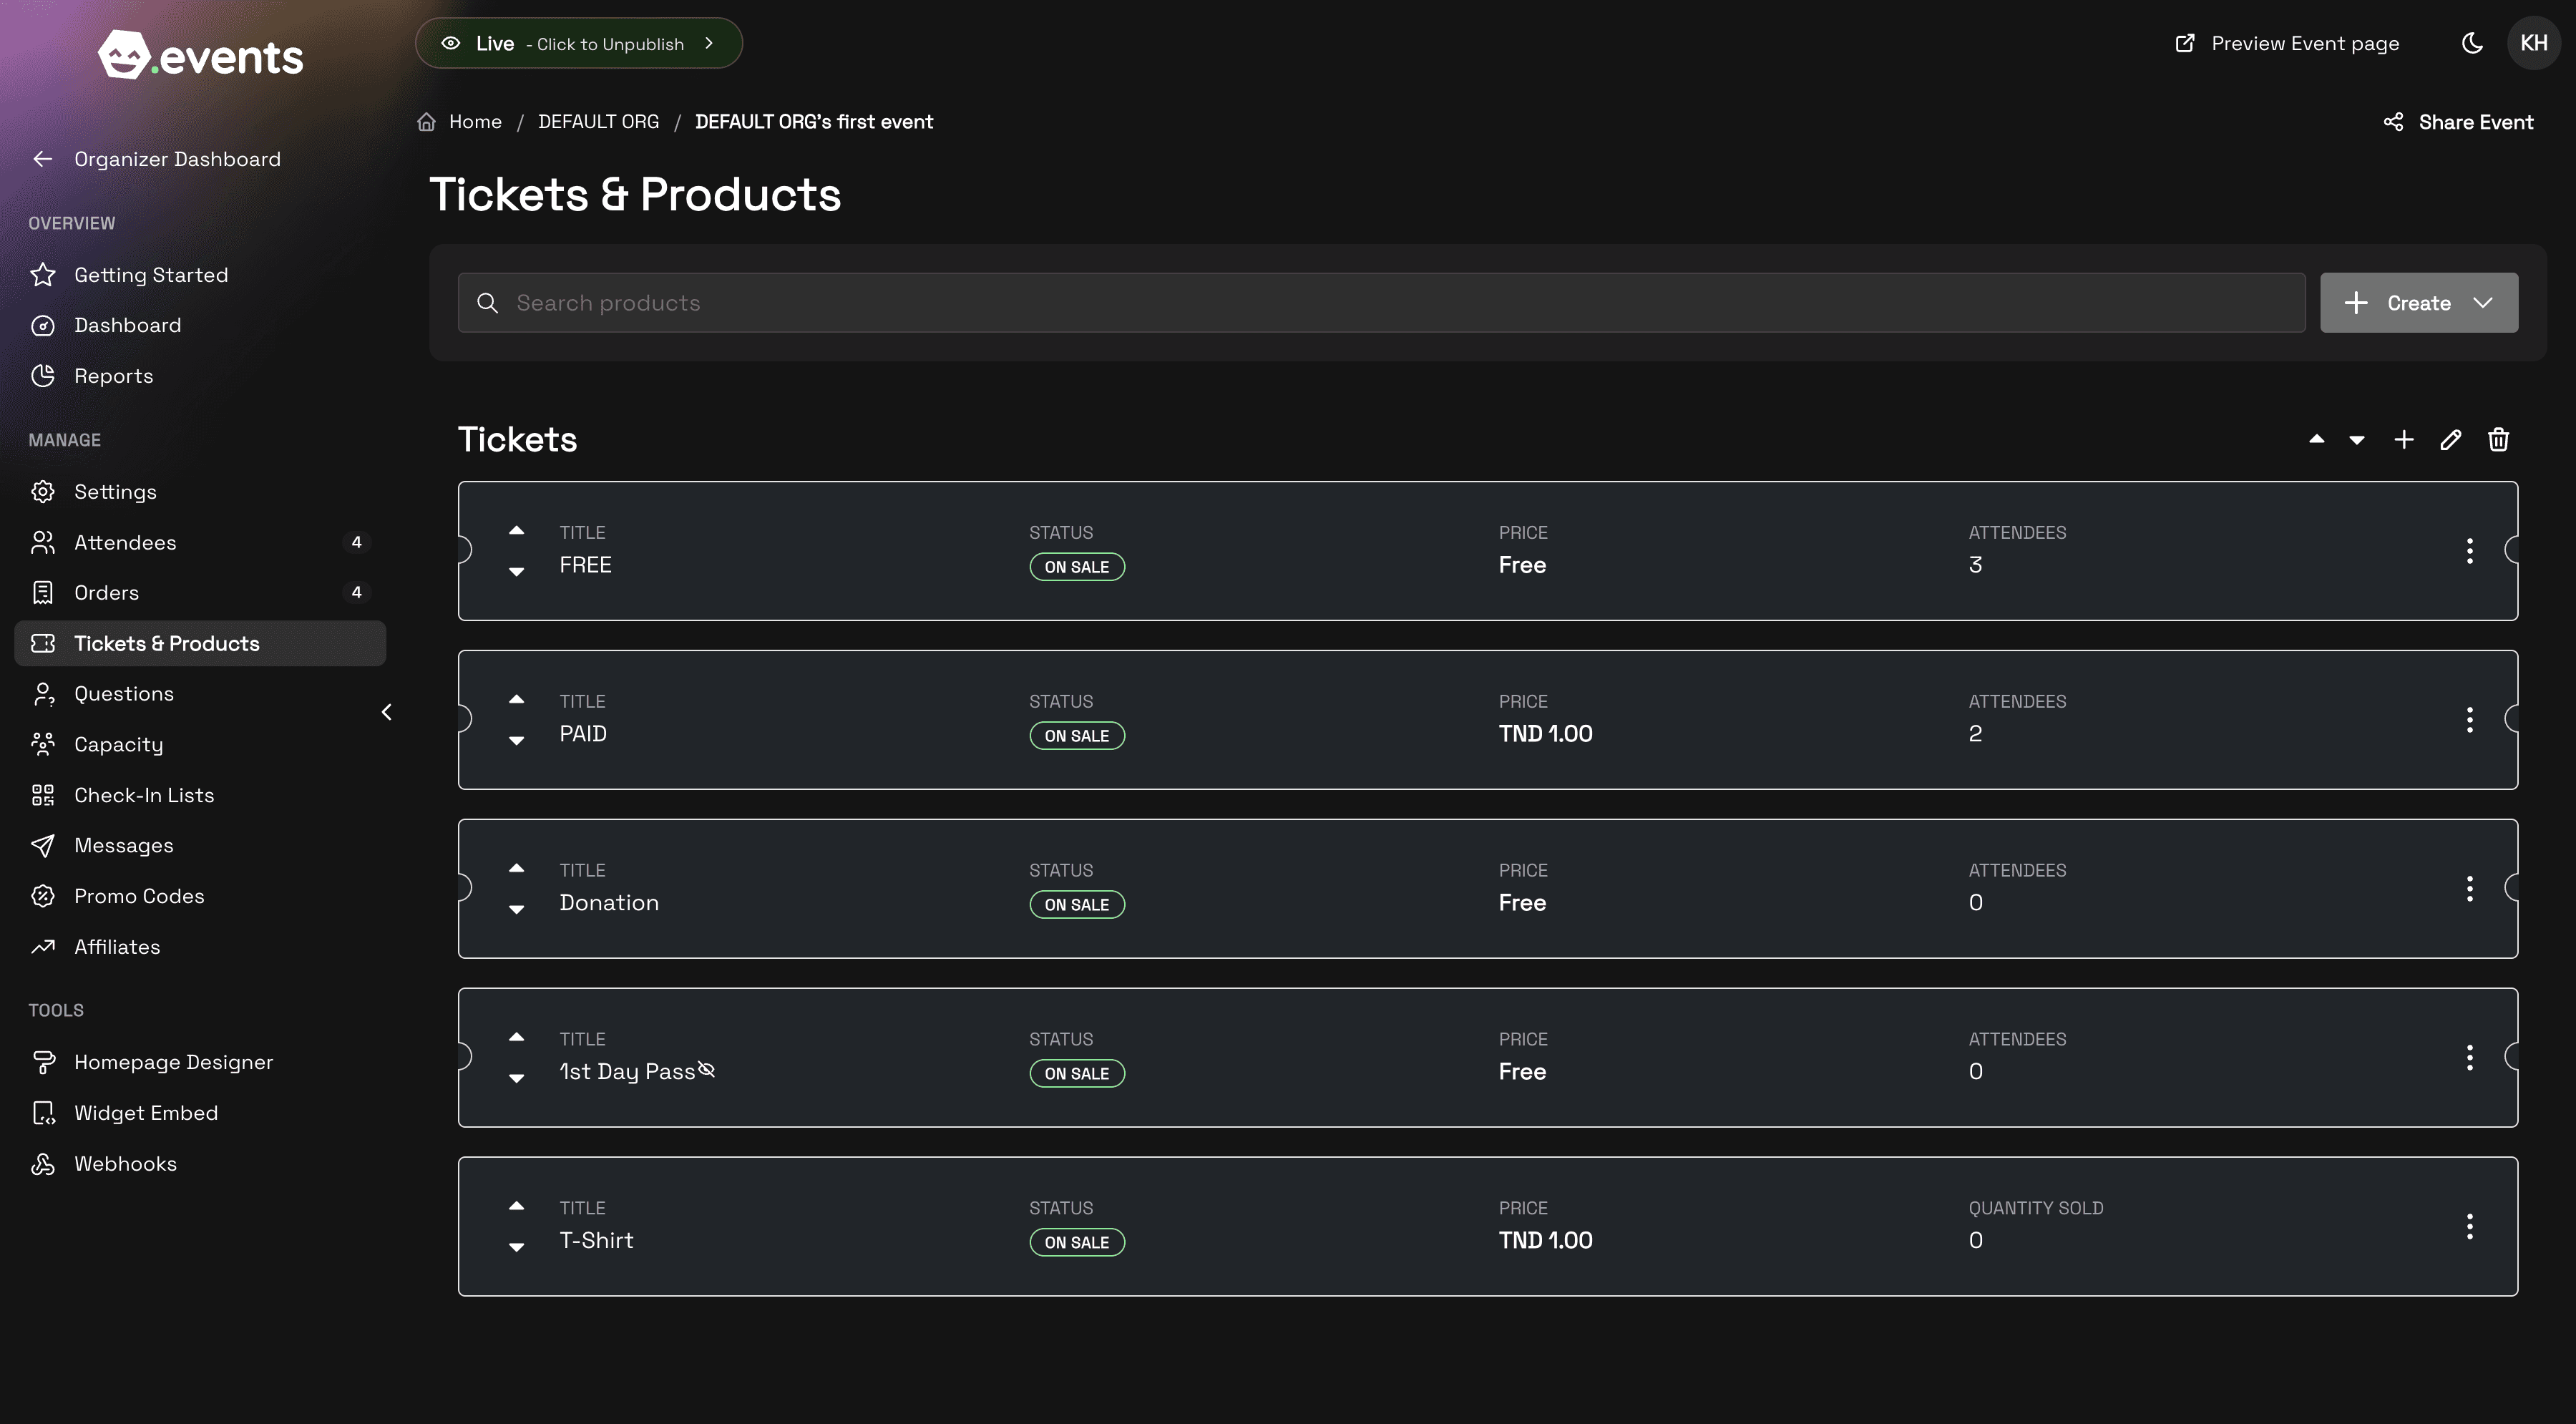
9. Preview your event
Click "Event page" to see how your event will appear to attendees. You can make adjustments to the layout and content from here.
Preview how your event will appear to attendees
Next Steps
Now that you've created your basic event, you might want to:
Add more details to your event description
Set up additional ticket types
Configure event settings like capacity limits
Add custom branding and images
Set up email notifications for registrants
Basic Event Setup
1. Start by clicking "Create Event"
From your dashboard, click the "Create Event" button in the top right corner to begin.
Click the Create Event button to start
2. Enter your event's name
Choose a clear, descriptive name for your event. You can edit this later if needed.
Enter a descriptive name for your event
3. Set your event's start date
Select when your event will begin. You can add end dates and additional schedule details later.
Choose your event's start date
4. Continue to setup
Click "Continue Event Setup" to proceed. Don't worry about having all the details ready - you can add more information later.
Proceed to the next step of event setup
5. Initial event creation complete
Congratulations! 🎉 Your event has been created. Now it's time to add tickets or products.
Your event has been created successfully
Setting Up Tickets
6. Create your first ticket
Start with a basic ticket type like "General Admission". You can add more ticket types later for different pricing tiers or VIP access.
Name your first ticket type
7. Set ticket pricing
Enter the price for your ticket. Leave it at 0 for free events, or enter your desired amount. You can also add fees and taxes later.
Set your ticket price
8. Finalize ticket creation
Click "Create Product" to add this ticket type to your event.
Finalize your ticket creation
9. Preview your event
Click "Event page" to see how your event will appear to attendees. You can make adjustments to the layout and content from here.
Preview how your event will appear to attendees
Next Steps
Now that you've created your basic event, you might want to:
Add more details to your event description
Set up additional ticket types
Configure event settings like capacity limits
Add custom branding and images
Set up email notifications for registrants
Other articles you might like
Learn how to increase your productivity with calendars